MICROSCOPY and SIMPLE STAINING
1. Watch the microscopy video and use the other resources at this site.
Microscopy Tutorial Module
Click The Virtual Scope on the Microscopy Pre-Lab Activities page (courtesy of the University of Delaware)
Microscopy video (Courtesy of the University of Leicester)
While using these resources, pay particular attention to
the following parts or properties of your
microscope:
ocular lenses (eyepieces)
objective lenses (low power, high dry, oil immersion)
stage and slide holder, slide movement control
condenser and iris diaphragm and their controls
arm and base (what is the correct way to lift and carry your
microscope?)
lighting and its control
What is meant by the term PARFOCAL?
How does being parfocal simplify focusing?
What is the correct way to focus?
How do you clean the lenses?
Keep the head set screw tight?
2. Activities
A. Practice Light Control
- Turn on the light source to medium intensity
- Look through the oculars and adjust the interpupillary
distance so that you see just one illuminated field. The field
will tend to "dance" before your eyes. Move your head back and
forth, up and down and try to determine the most comfortable
viewing distance for yourself.
- While looking through the oculars, open and close the iris
diaphragm. Note the effect this has on the amount of light
coming through the oculars.
- While looking through the oculars, raise and lower the
condenser by turning the condenser knob. What effect does this
have on the light intensity?
B. Focusing and Kohler Illumination
- Place one of the prepared slides which have either the
letter "e" or the colored threads mounted on them onto the
stage of your microscope. Make sure that the specimen is
centered over the stage aperture.
- The light source should be adjusted to medium intensity,
the condenser about three-fourths of the way up and the iris
should be almost closed.
- Rotate the low power objective into place over the specimen
and, while looking from the side, crank the specimen up as
close as it can get to the objective. (The low power objective
should not be in danger of touching the specimen. However, as
you gain experience with the microscope you may want to start
focusing with higher power objectives. This is OK to do but be
aware that the higher power objectives are longer and should
not be allowed to touch the specimen.)
- Look through the oculars and start focusing by moving the
specimen away from the objective by turning the
coarse-adjustment knob. When the specimen comes into view, fine
focus on one area of the specimen with the fine-adjustment
knob. Is the whole specimen ever in focus or are some parts of
the field in focus while others are not?
- Now it is time to adjust the microscope specifically for
your use:
- Close your left eye and make sure that the microscope is
well focused for your right eye.
- Now open your left eye and bring the left ocular image
into focus by turning the diopter focusing ring on the left
ocular.
- Now adjust your microscope for Kohler illumination:
- With your microcope focused on the specimen as above,
close the field diaphragm until it is almost closed. If you look through the oculars you should see a small circle of light.
- Raise or lower the condenser until the edges of the circle of light come into sharp focus.
- This represents the optimum optical adjustment of the
condenser and it provides the best resolution that your
microscope is capable of. Make sure that your microcope is
"Kohlered" before making any critical observations.
- (Alternative Kohler Procedure for Microscopes that don't have a field diaphragm
Hold a sharply pointed pencil or pen over top of the light source at the bottom of your microscope.The point of your pencil should be at the center of the light source.
- Raise or lower the condenser until the shadow of the
pencil point comes into focus through your oculars.
- As above, this represents the optimum optical adjustment of the condenser and it provides the best resolution that your microscope is capable of. Make sure that your microcope is "Kohlered" before making any critical observations. )
- Draw the letter "e" or the threads both as they appear to
the naked eye and as they appear under low power of your
microscope. Move the specimen using the X,Y stage control
knobs. When observing the threads, focus up and down to get a
sense of the depth of field.
C. Demonstrate Parfocal Property of the Microscope with the High
Dry Objective
- With the letter "e" or thread slide in focus with low
power, move the high dry objective into place over the
specimen. Do not adjust the focus knobs before you do this.
(Whenever you change objectives it is good technique to always
observe the stage from the side to make sure that the objective
will clear the slide. The objective lens should NEVER touch the
slide!)
- Since your microscope is parfocal, the specimen should
still be visible and still be in approximate focus. You may
need to adjust the fine focus a bit to bring it into sharp
focus however.
- Draw the letter "e" or the threads both as they appear to
the naked eye and as they appear under high power of your
microscope. Move the specimen using the X,Y stage control
knobs. When observing the threads, focus up and down to get a
sense of the depth of field.
- How does the image you see now differ from what you saw
under low power? Can you make out any more details? Did you
have to change the lighting?
D. Low Power Observation of Salt Crystals
- Use a bacteriological loop to transfer a small drop of 20%
NaCl to the center of a microscope slide.
- FLAME the loop and the test tube lip as if it were a
bacterial culture. This fundamental procedure of aseptic
technique as well the proper technique for lighting a bunsen
burner will be demonstrated for you. These techniques are
also demonstrated in the following film clips:


- As the slide is drying, place it on the stage and position
the drying specimen over the stage aperture.
- Turn the light down low with the iris diaphragm and try to
focus on the forming salt crystals with the low power lens. Use
the same focusing technique you learned above. You do not need
to adjust the condenser since you have already Kohlered
it.
- Change the lighting with the iris and determine its effect
on what you see. You can also change the condenser adjustment -
but if you do you should always bring it back to Kohler
illumination before moving on. Play with the rheostat and
determine its effect also.
- Now move to the high dry objective and perform similar
observations to what you did above.
E. Demonstrate the Parfocal Property of the Microscope with the
Oil Immersion Objective
- Obtain one of the prepared tissue or bacterial slides. The
tissue slides will have coverslips on them which is typical
when the specimen is fragile or valuable. The bacterial smears
will probably not have coverslips on them.
- Adjust the light to low with the iris diaphragm, position
the specimen over the stage aperture and focus on the specimen
with the low power objective. Again, play with the lighting and
move the specimen around, find and identify key landmarks if
you can.
- Position an interesting structure in the center of the
field and then move to the high dry objective. Adjust the focus
with the fine adjustment. As above, play with the lighting and
move the specimen around, find and identify key landmarks if
you can.
- Once again, position an interesting structure in the center
of the field, rotate the high dry objective half way out of the
way - enough so that you can deposit a small drop of oil onto
the center of the lighted specimen. Now rotate the oil
immersion objective into place. Watch from the side as you do
this! The tip of the lens should pass into the oil and it
should just clear the top of the cover slip (or the slide if
there is no coverslip). Focus with the fine adjustment knob.
- Your specimen should be in approximate focus but if you
are over a thick area you may have to increase the lighting
or move the specimen a bit to a thinner area in order to
recognize anything. Conversely, if all you see is bright
light, you may be over a blank area in your specimen and you
may have to move your specimen slightly in order to see
details. This second situation shouldn't happen if you were
careful to center an object in the field you observed with
the high dry lens.
- When you are done, save the smear by BLOTTING the oil off.
(Don't wipe the oil off!). As was demonstrated in to microscopy
video - Be sure to clean the lens with methanol at the end of
the day. Be especially sure to clean off the high dry lens
since it is easily contaminated with oil!
F. Wet Mounts
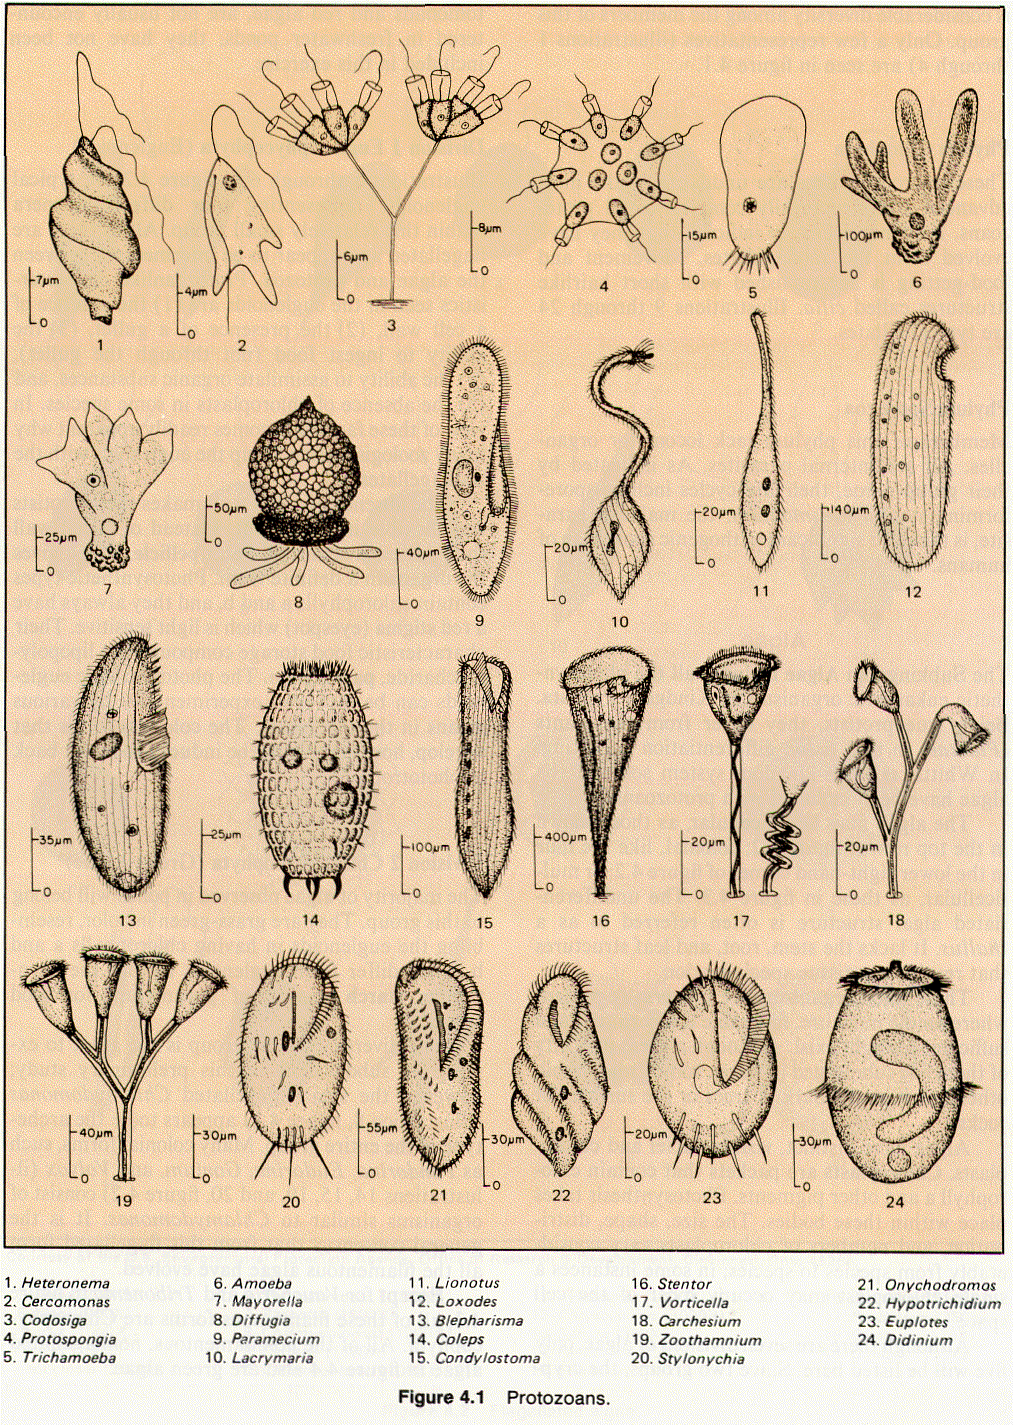
We have several HAY INFUSIONS available for doing wet
mounts.
- It is best to sample a little of the scum floating on top
with one of the wooden sticks provided.
- If going for a deeper specimen, use the plastic pipette and
try to pick up a little visible debris which can act as a point
of reference when focusing.
- Don't flood your slide with specimen, small is better!
- Place a coverslip over the specimen and observe under low
power and high dry.
- You can move on to oil immersion but these are tricky since
the oil acts as an adhesive and loosely attaches the lens to
the coverslip which then slides back and forth across the fluid
specimen. If you do try oil immersion on these, it is
especially important that your specimen be small.
- Look at some of the identification keys available in the
laboratory and see if you can identify any of the
"animalicules" (as Leeuwenhoek would say) you see.
Identification Keys:
G. Preparing a Bacterial Smear
Preparing a bacterial smear is a very fundamental
technique that you will use many times during the course of the
semester. Learn this technique by first doing it with a slant
culture rather than a broth culture. All manipulations of
bacterial cultures MUST BE DONE ASEPTICALLY. This means holding
the cap with the "pinkie" of the hand holding the loop and always
flaming the lip of the opened culture tube as demonstrated in
class and in the film clip.
1. Preparing Smears from Slant Cultures
a.) Put a small drop of H2O (from the tap) onto the
center of three slides. Use a bacteriological loop to pick up
the water.
b.) Onto the first slide put a large amount of growth from
the slant culture; onto the second slide put a pinpoint amount
of growth; and onto the third slide put an invisible amount of
growth. Always make sure to flame before going back into the
culture tube. When applying the bacteria to the drop of water,
smear the drop into the size of a dime to facilitate
drying.
c.) Once the smear is dry, HEAT FIX the smear:
Pass the bottom of the slide with the dried
specimen over the flame of your bunsen burner three times.
This should be done quickly and it is best to hold the slide
with a clothespin so as not to burn your fingers. When pau,
you should be able to place the bottom of the slide on the
back of your hand and feel heat but not be burned. If the
slide burns you, then the heat is intense enough to damge
bacterial structure.
2. Preparing Smears from Broth Cultures
a.) Obtain 3 microscope slides and using careful
aseptic technique transfer two loopfuls from a broth culture
onto the first slide. Transfer 4 loopfuls onto the second
slide. Transfer 6 loopfuls onto the third slide. You will have
better results if you smear each loopful out to about the size
of a dime and if you allow each loopful to dry before adding
the next loopful.
b.) Once the smear is dry, HEAT FIX the smear as above
H. Staining Bacterial Smears with Simple Stains
1.) Place the cooled slides on the staining rack over the
sink at your lab bench.
2.) Flood the slides with methylene blue (a basic stain) and
allow the stain to react for 1 minute.
3.) Wash the slides with running water from the tap. Manipulate
the rubber tubing attached to the water faucet to direct the
stream where you want it. With moderate water pressure you need
not be concerned about washing the bacteria off of the slide. Be
careful that you don't splash yourself with stain though. Pick the
slides up with clothespins or forceps.
4.) Blot (don't wipe!) the slides with paper towel or Kimwipes
and allow them to air dry completely.
5.) Observe as you did in "E" above.
Some Questions:
- What is meant by the term "basic dye?"
What is a cation? Anion?
What is the charge on a bacterial cell?
What is a carboxyl group?
What is meant by ionization?
copyright 2007 -- Revised Dec 2007